1/28/16

Petite Places: Home and Garden

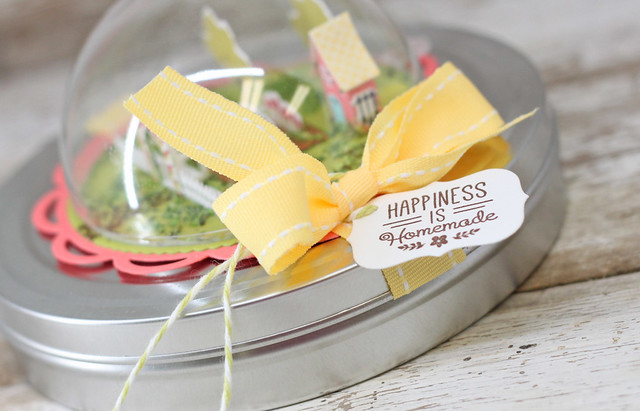
Stopping in today with a little Papertrey Ink Petite Places project.  This is the new set called Home and Garden.  It is so adorable with so many fun detail added in!

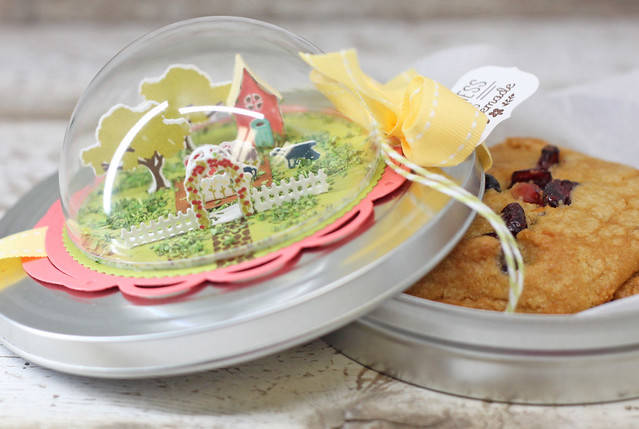
I made a little single cookie holder with a CD container.  If you ask Brody....its a space ship.  HA!

IMG_2651

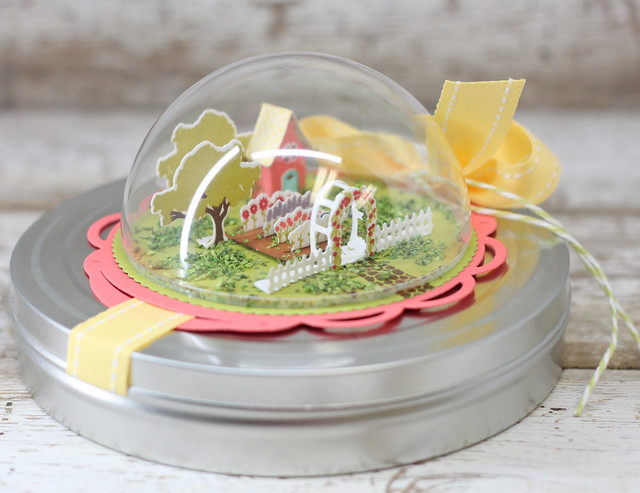
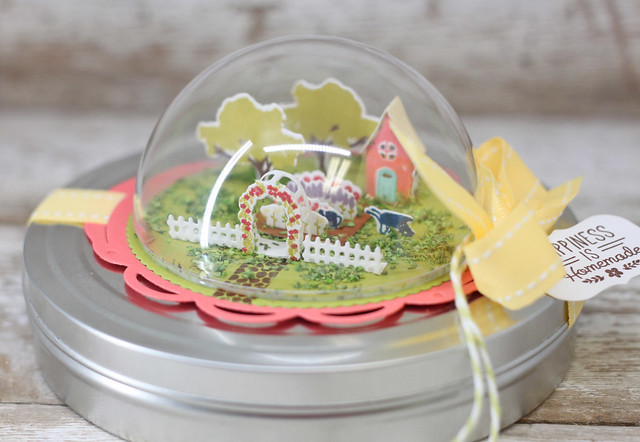
I stamped in a little sidewalk with the Walk in the Park Mini.  Then I added in all the details of the Home and Garden with this tiny garden shed as the main building.  

IMG_2650

I secured the glob project to the CD tin with glue dots and then added in a Lemon Tart Bow.

IMG_2652

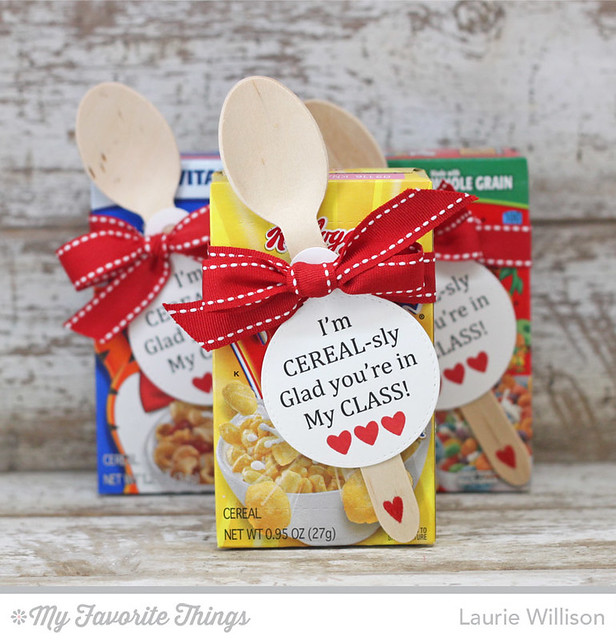
One big cookie fits perfectly in the tin.  I am thinking this will be a great teacher gift.  

IMG_2648

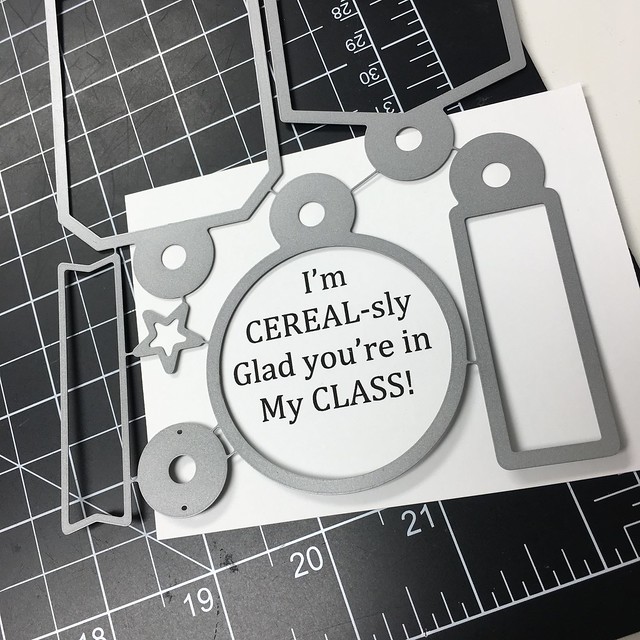
I finished it out with a little tag with a sentiment that was included in the set.  

IMG_2649

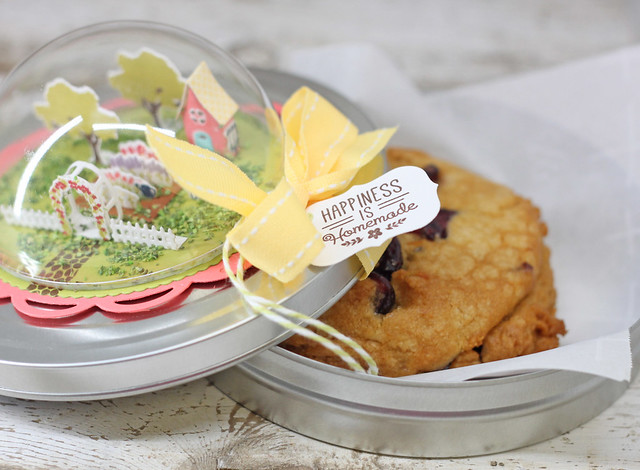
These little images are so fun and easy to line up.  This is just a great addition to the Petite Places set.
Stop over to the PTI website to see all the Petite Places stamps and dies.

So glad you came by today!  Hope you are having a great day!


Supply List:


1/27/16

MFT Wednesday Sketch Challenge...

So I used up a little artistic license with today's MFT Sketch.  I kept it nice and CAS as always but used the watercolors in the background for the layers in the sketch...

Print

I cut out the watercolor design with the Wonky Rectangle die and then added that to the card base.  I used the Arrow Greetings die to create the black hello and attached it to a piece of vellum.  I wanted to use vellum for that portion of the sketch, to let the color show through.  

Print

To give it a more muted look, I popped the vellum up.  Popped it up you say?  Like as in with foam tape?  Nope!  I actually stacked 5 of the same "hello" die cuts and glued them all together.  Then I took that stack and glued it to the back of the vellum hello and attached it to the card front.  Here is a side shot so you can see.....

IMG_2645

The thin top black layer is the visible sentiment, the the vellum and then 5 stacked up hellos underneath.  Fun huh?  This is a great way to pop up vellum by hiding the actually pop up.  :)

Here is this week's sketch......

Stop over to the MFT blog to see more Sketch cards for this weeks challenge.  Thanks so much for stopping in!  

Have a great day!


Supply List: 

1/25/16

Lots of Love for Blueprints....

Do you love the Tag Builder Blueprints Dies from MFT like I do?  They are are so much fun and so very versatile!  If you head over to the MFT Blog today, you can see a list of stops to make to see all the ways to use these fun dies for Valentines Day!

I thought I would stop in and share a project I have been working on using Tag Builder Blueprints 4.   My kids have always had the most amazing teachers and I love to help out when I can.  I asked Brody's teacher if I could make her Valentines for her this year, so its one less thing she needs to worry about.  They spend so much money out of pocket and so this is one area I can help out in.  I found THESE adorable teacher goodies on Pinterest and had to re create them!

Print

I grabbed 3 packs of mini cereal boxes to start.  I had some wooden spoons from a project last year that I bought on Amazon and some red stitched ribbon from Hobby Lobby to add in.  First, I typed up the sentiment in a 2" circle on a word document and printed those out.  Using these open tags from this Blueprints set is what made this project easy.  I was able to cut out the tags I needed quickly because they were so easy to center.

Untitled

I used the set of 3 hearts from the set So Much Love  and MFT Red Hot ink, to add in just a little detail to each tag.

IMG_4730

I added a heart stamp to each wooden spoon....

Print

I used a glue dot on the bottom of the spoon to keep it secure to the box.  

Print

And last I tied the bow around the box, before tucking the tag up inside the bow with another glue dot.

Print

And now I have 24 gifts for the teacher to pass out to her kiddos!

IMG_2638

Stop over to the MFT Blog to see some more Tag Builders just in time for Valentines Day!

Thanks for stopping in!

1/24/16

Spread Your Wings...

I've combined a couple of the new sets from the January Papertrey Ink Release to make this fun rainbow card.

IMG_2639

First, I stamped the Background Basics: Splat in rainbow order on the background panel.  Next, I used Post it Tape to mask off each area and then blended in the same color ink.  

IMG_2641

I used the new Cover Plate: Butterly die to create the vellum butterflies.  Last, I heat embossed a sentiment from Bitty Butterflies on black cardstock.  

IMG_2642

I hope you are having a great weekend!  I have the house to myself for a few minutes and am working on getting this messy craft room back in order!

Thanks for stopping in!


Supply List:


BLOG TEMPLATE BY DESIGNER BLOGS